Making Short Learning Films with a DSLR: A Step-by-Step Guide
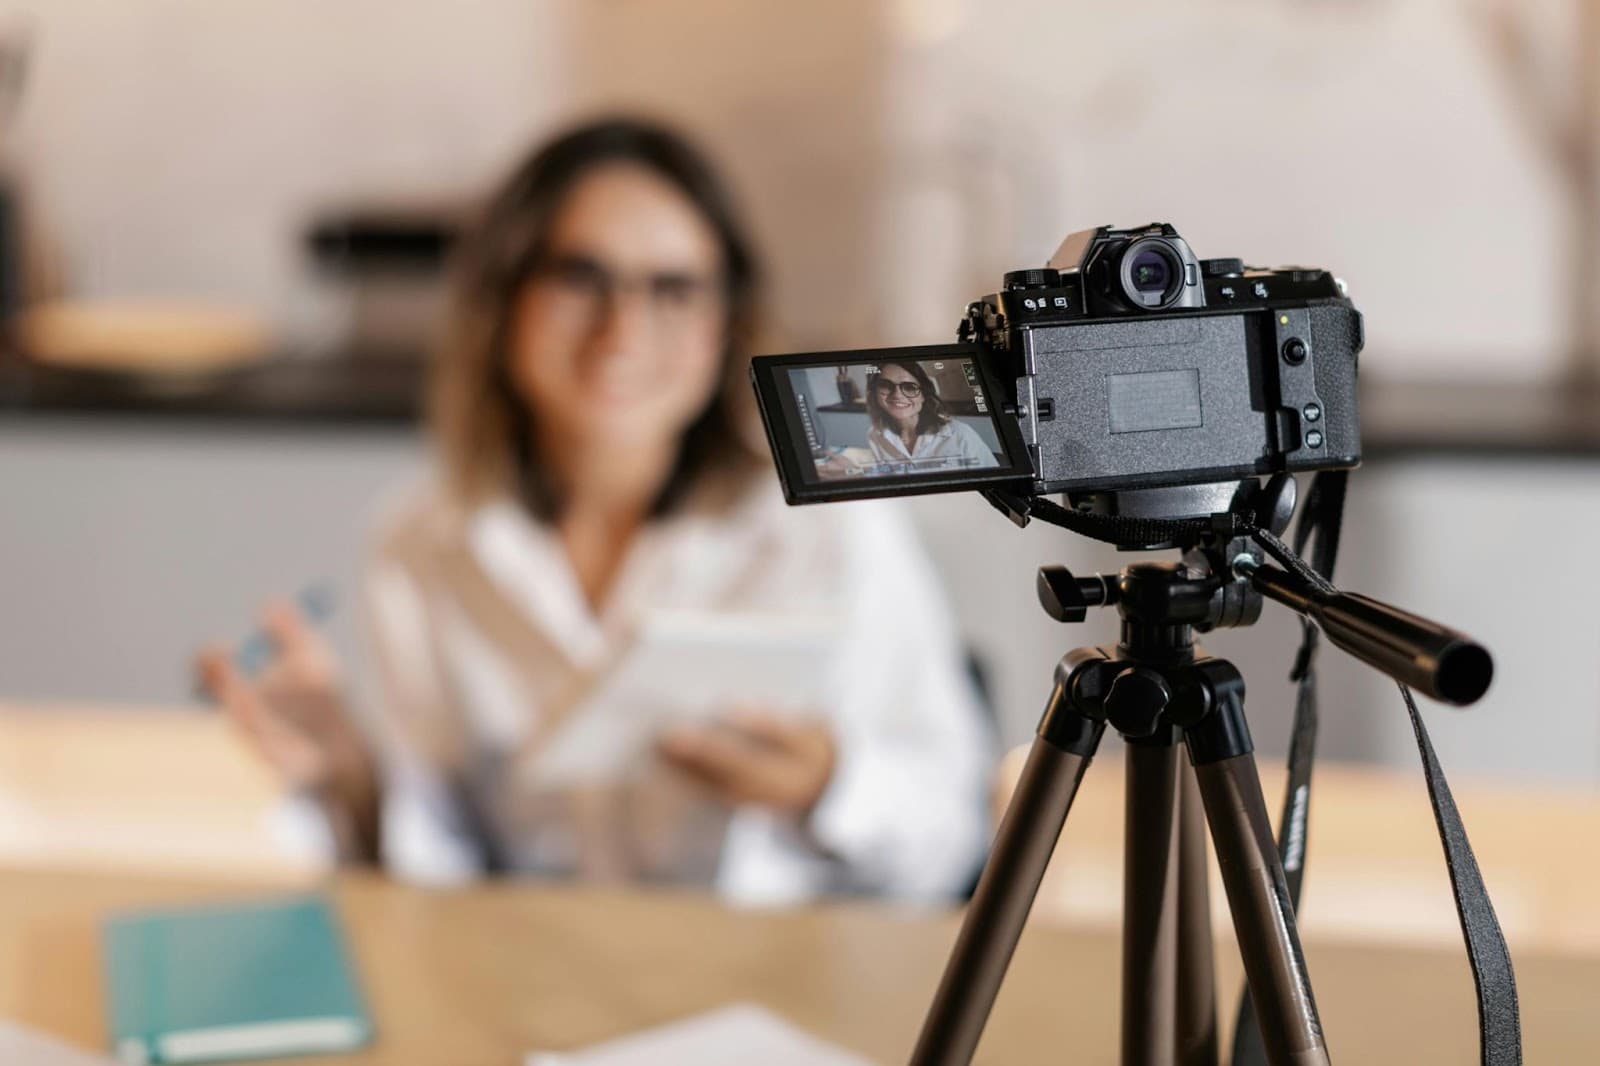
When I first ventured into creating short learning films with my DSLR, I was overwhelmed. I didn’t know where to start, what tools to use, or how to translate my ideas into an engaging visual format. Fast forward to today, and I’ve created several educational videos that have been used in classrooms, online courses, and training sessions. The process wasn’t always smooth, but the journey taught me invaluable lessons about planning, shooting, and editing learning films.
In today’s digital age, learning films are a powerful medium for sharing knowledge. Whether you’re an educator, a business professional, or a content creator, knowing how to make effective learning films can open doors to new opportunities. If you’re just starting out, tools like your DSLR camera and basic editing software are all you need to get going. Additionally, as you explore resources to enhance your skills, finding cost-effective solutions can be crucial. For instance, if you’re considering outsourcing scriptwriting or other content needs, you might want to check out this Essay Pro promo code to save on professional services that can complement your filmmaking process.
This guide will walk you through every step of making short learning films with a DSLR, from planning to sharing your finished masterpiece.
Planning Your Short Learning Film
Define Your Objective
Every successful learning film starts with a clear purpose. When I begin a project, I always ask myself: What do I want my audience to learn? The more specific the objective, the better. For example, instead of aiming to “teach photography basics,” I might focus on “teaching how to adjust aperture for better portrait photos.” A focused goal ensures that the film remains concise and engaging.
Scriptwriting for Learning Films
Once I’ve clarified the objective, I move on to scripting. A strong script is the backbone of any learning film. I’ve learned that breaking the content into smaller segments helps maintain the audience’s attention. For instance, I often divide the script into sections like introduction, main concepts, examples, and summary. This structure keeps the film organized and digestible.
Storyboarding Your Ideas
Visualizing the film is just as important as writing the script. I like to sketch a storyboard to outline each scene, camera angle, and transition. You don’t have to be an artist—stick figures and rough sketches work just fine. Storyboarding helps me anticipate potential challenges, like tricky camera setups or lighting issues, and plan accordingly.
Preparing Your Gear
Choosing the Right DSLR and Accessories
Your DSLR is your primary tool, and choosing the right one makes a big difference. I prefer cameras with excellent video capabilities, like the Canon EOS R or the Nikon D7500. For lenses, a 50mm prime lens is my go-to for sharp visuals and beautiful depth of field. An external microphone, such as a Rode VideoMic, is essential for clear audio.
Lighting Setup for Learning Films
Lighting can make or break a film. For indoor shoots, I use softbox lights to create even, diffused lighting. Natural daylight is another excellent option, but it requires careful planning to avoid harsh shadows. If I’m shooting outdoors, I always carry a reflector to control the light.
Essential Tips for Audio Recording
Good audio is critical for learning films. I’ve had my fair share of frustrations with built-in DSLR microphones—they tend to pick up too much background noise. An external microphone is a worthwhile investment. Additionally, I make sure to record in a quiet environment and monitor audio levels during the shoot.
Shooting Your Film
Setting Up Your DSLR
Before hitting record, I spend time setting up my camera. Shooting in manual mode gives me complete control over the look of my footage. I adjust the resolution to 1080p or 4K for high-quality visuals, set the frame rate to 24 fps for a cinematic feel, and tweak the white balance to match the lighting conditions.
Capturing Engaging Shots
Variety is key to keeping viewers engaged. I use a mix of wide shots to establish the setting, medium shots for demonstrations, and close-ups for detailed explanations. Smooth camera movements, achieved with a tripod or gimbal, add a professional touch.
Troubleshooting Common Issues
Filming isn’t without challenges. On one occasion, I realized midway through a shoot that my footage was overexposed. To fix it, I adjusted the ISO and aperture settings. I’ve also dealt with shaky footage and audio interference, but having a troubleshooting mindset helps me overcome these hurdles.
Editing Your Learning Film
Organizing Your Footage
After the shoot, the first thing I do is organize my clips. I label them based on scenes and content, which makes the editing process much smoother. Trust me—spending a few minutes on organization can save hours later.
Video Editing Essentials
Editing brings the film to life. My preferred software is Adobe Premiere Pro, but tools like DaVinci Resolve and Final Cut Pro are equally powerful. I start by trimming unnecessary footage and arranging clips in the desired sequence. Transitions, such as crossfades, help maintain a smooth flow.
Adding Graphics and Subtitles
Learning films benefit from visual aids like text overlays and diagrams. I use simple animations to emphasize key points and subtitles to make the content more accessible. Subtitles are especially valuable for non-native speakers or viewers in noisy environments.
Incorporating Background Music and Sound Effects
Background music can enhance the tone of your film, but it’s important not to let it overpower the narration. I choose royalty-free tracks that complement the subject matter. Sound effects, like clicking noises during a demonstration, add an immersive touch.
Finalizing and Sharing Your Film
Reviewing and Refining
Before exporting, I watch the film multiple times from the perspective of the target audience. I look for issues like uneven audio levels, abrupt cuts, or unclear visuals. Feedback from peers or collaborators is also invaluable at this stage.
Exporting Settings for Different Platforms
Each platform has unique requirements for video uploads. For YouTube, I export my films in 1080p resolution with a 16:9 aspect ratio. For social media platforms like Instagram, I adapt to square or vertical formats. Knowing these specifications ensures that my films look great wherever they’re shared.
Publishing and Promoting Your Film
Once the film is ready, I upload it to the chosen platform and optimize it for visibility. A compelling title, description, and thumbnail can significantly boost engagement. For learning films, I also include a brief summary of the content and links to additional resources.
Conclusion
Creating short learning films with a DSLR is both challenging and rewarding. From planning and shooting to editing and sharing, each step is an opportunity to refine your skills and deliver value to your audience. The process has taught me to appreciate the power of storytelling and the importance of accessibility in education.
Whether you’re making your first learning film or looking to improve your existing workflow, remember that every project is a chance to learn and grow. With patience and creativity, your DSLR can become a tool for crafting impactful educational content that resonates with viewers.
If you’re considering additional resources to complement your filmmaking journey, don’t forget to check out options like the Essay Pro promo code. Investing in your skills and tools will pay off as you create films that make a difference. Now, grab your DSLR and start shooting!