35 minutes and you are an editor.
Practice, practice, practice! No boring theory.
From the second lesson you will learn how to edit video. Faster than pizza delivery.Get creative through experience.
Anyone can master our course.
You practice after each lesson. By doing simple tasks, you gain editing skill. After completing our courses, you will have your own vision.Comfortable learning.
Feedback from the teacher
Videos, effects, instructions in one place You only need a laptop. You choose your own schedule.Why people choose us
Let’s answer the question “Why do I need video editing?”
DESIGN
Parsing two different videos by content.
A trial lesson for those who doubt.
Continuous master classes from teachers
DEVELOPMENT
More than 4500 satisfied students
Criteria for a successful video for a YouTube channel
SUPPORT
Practical information only
Criteria for a successful commercial
The value of knowledge is higher than the cost
LOREM IPSUM DOLOR
Our main principle is
practice, practice and practice again.Course students master the leading software in the professional video production market. After 2 months, our graduates possess the skills of work and successfully apply the knowledge of directing, color correction, music and sound design in their work.

Learn with us
Video Editing school is:
After completing the course, you will have the skills that will form the basis for your professional future
Teachers
School students study with experienced teachers and film industry professionals

Bessie Kunde
Editing Instructor
Film editor. Commercial video maker.

Ansley Swaniawski
Producer teacher
Producer and head of a leading post production company in the film market.

Moses Koelpin
Sound engineering teacher.
Sound engineer with colossal film and television experience.

Deshaun Kozey
Directing and Drama Teacher
Video filming of presentation films, commercials.
News
A good editing director is needed for YouTube projects, television, advertising agencies and film companies. This is a versatile fighter who knows how to work with videos of different genres and formats.

How to Shoot High-Quality Video on Your DSLR Camera: Essential Gear and Techniques
In the contemporary digital era, akin to the seamless integration of skill and strategy in the aviator game online, the distinction between photography and videography is increasingly merging. As a[…]
Read more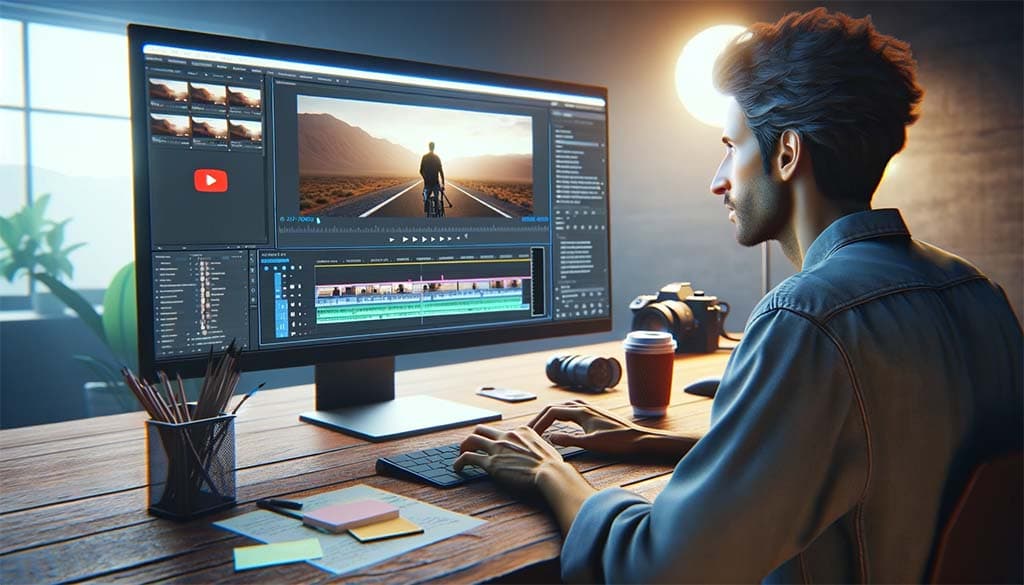
Enhancing Your YouTube Content Essential Video Editing Tips
Editing is a crucial aspect of creating captivating YouTube content. This introductory section sets the foundation for understanding the transformative power of video editing. Good editing can turn ordinary footage[…]
Read more
Mastering the Craft of Car Review Video Editing
Car review videos, a blend of automotive passion and informative content, have carved out a popular niche in digital media. This article introduces the art and science behind editing these[…]
Read moreContact us
With the Internet spreading linke wildfire and reaching every part of our daily life, more and more traffic is directed to websites in search for information.
Sponsored
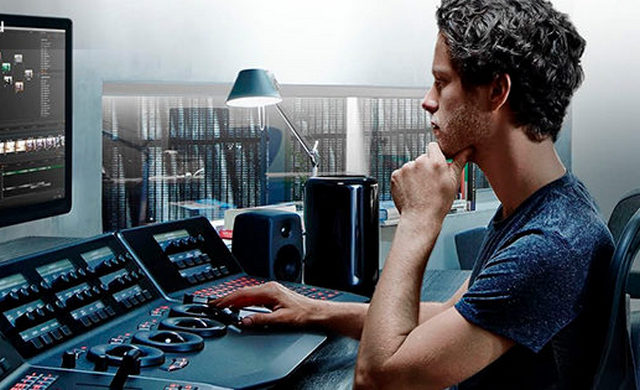
Training is practice-oriented. Each lesson lasts 3 hours and is held in the evening, which allows you to combine the course with work or study. Classes are held in comfortable classrooms, which have computers and everything you need for high-quality video editing. In the first lesson, students are introduced to the basic concepts and tools for video editing. In practice, they will create their first video with their own hands.

I was swamped with assignments and didn’t know how to juggle everything until I found Learningdslrvideo. They took on the task of saying, “Do my paper, write my paper“, and delivered outstanding quality that exceeded all my expectations.

Characteristics of slot machines at the lucrative BasariBet club

Learningdslrvideo helped the whole CasinoHEX team to create top-notch videos about quality casinos in Australia. You guys are the best! Keep up the great work!

Play your favorite casino games like slots, roulette, blackjack, and more at Pin Up Casino India.
Learningdslrvideo says big thank you to OCryptoCanada for allowing Canadian customers to pay for our course with cryptocurrency.
Learning Dslr Video helped us in the advertising campaign with the launch of our dating site Doulike. Made effective videos, which still attract visitors to the site. Thank you, you are great!

Studyfy team is closely working with the Learningdslrvideo company in case of using the Learningdslrvideo video editing service. Studyfy is a platform for studying effectively, and Learningdslrvideo services make us better!
Thanks to the LearningdslrVideo, essaytyper.ai learned the specifics of video editing in the writing field. We are proud of our cooperation.

At UADates you can find single Russian woman for chat, dating and marriage. 100% verified profiles and Free registration. Be ready to start the best chapter of your life!

Learningdslrvideo has helped us at Norgesautomaten immensely. We recommend them greatly.

Apple Pay is an easy, fast, and safe way to pay for your purchases, may that be your local grocery store, a huge mall downtown, online shopping, etc. And, of course, there are many gas stations that take Apple Pay as well, and in this article, we will take a close look at those gas stations. Fasten your seat belts: we’re getting started!

Create storyboards with our free storyboard software! Filmmakers, teachers, students, & businesses all love using Storyboard That for storyboarding q comics online!